Yesterday was a day of work. Normally Sundays are our family days, but we kind of had a family weekend this week. For the first time in a little while, we didn't have any events to go to, or host. We didn't have to run out to do things. The weather wasn't nice enough to go on a trip to the zoo or beach. We just relaxed. We watched a couple movies, played video games, chased our daughter around, read stories together, etc. :) We were going to finger paint, but honestly, I was exhausted!
For the first time in a few weeks, my kitchen is clean! All of the dishes are done, the floor was mopped recently (thought to be honest, I guess it could be mopped again), and there isn't an overwhelming amount of tupperware in the fridge! (<--- this is important because there comes a time where I just want to leave whatever it is in there so I don't have to wash it)

Exactly
This weekend will probably be our last real chill weekend for a little while, so I don't know what got into me to go on a cleaning spree. Whatever it was, happy home-maker was in overdrive yesterday. I should have worn my pearls to complete the image.
I ended my evening making these M&M bars for the employees Joshua supervises. He has been wanting to bring them in some sort of baked good for a while, and I finally had something to give him :)
I tried this recipe once before, a little over a week ago, but I messed it up :(
Not one to let a delicious looking recipe beat me, I had to try again. I mean look at these!
She makes them look so delicious!
She makes them look so delicious!
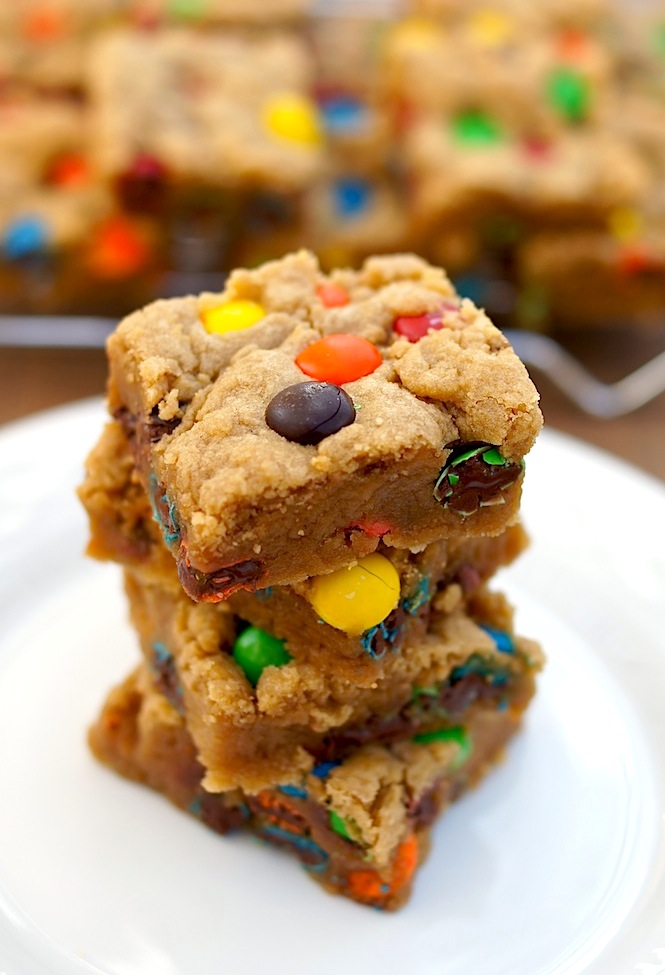
I got this picture from her blog, so you could see why I had to try again.
You should totally check the blog out!
Fearless Homemaker
Fearless Homemaker
I normally like to make some changes to a recipe, to make it more of my own style or taste, but since this was a redo from a flop, I followed it as closely as I could.
(I found I was out of butter and had to use Imperial sticks, sad face)
So here are our M&M Bars from the Fearless Homemaker, and the steps I took to make it.
So here are our M&M Bars from the Fearless Homemaker, and the steps I took to make it.
First off, for any baking experience to be made easier, I recommend getting everything out ahead of time. I don't always do this, but it truly is easier to do. Plus you can put stuff away after you use it!

The big tub is where I keep my baking soda. :)

The flour, salt, and baking soda were whisked together in a medium bowl

Next came the brown sugar, and white sugar in a separate bowl

Adding the "butter" to the sugar, and creaming it until nice and fluffy

One egg, and one egg yolk
This is going to sound very weird, but I always love separating egg yolks :)
I know the egg shell trick, and they actually have devices to do this too...
I know the egg shell trick, and they actually have devices to do this too...
...but I think it is easiest to just pour it into my hand and let the egg whites slide off.
Yep, I'm a weirdo.

So one of the many great things about my fella is that he doesn't mind helping me out :)
He read me all the instructions so I wouldn't have to go back and forth to my computer
I was skeptical at this part, and asked him repeatedly to make sure I was doing it right.
The instructions say to add the flour mixture to the wet mixture until just combined
I am not one to dump flour into a mix, I prefer to mix it in increments until blended
But since I messed up the last one, I decided to go ahead and trust this woman and do it her way :)
*dump!*

Resisting the urge to just eat this, like this!

When you're baking late at night, you have to entertain yourself a little
Okay, that is a lie, I would do things like this whether it was 12am or 12pm
You will just have to excuse my toilet humor :)

Ready to go into the oven!

Finished!!!
Now unfortunately, this was done around midnight, so I was unable to "wait until they are cool" to try one. My fault completely. As a friend has told me, "Only you would bake at midnight." But I did wait just long enough to where I could cut a piece and try it without burning my sensitive mouth skin.
I shared it with Joshua, and we both thought it was pretty good. Well I thought it was delicious, and just needed some milk to drink with it (and I am NOT a milk person, unless it is something decadent like this!) Joshua didn't think it was amazing by any means, but he thought it was good. He would eat it again, and if we had any left (he took them to work) he would probably happily finish them off. I don't think that these are something that will make him say "please go make these right now!" But I liked them a lot :)
Now that I have made them successfully, the next step is to put my own flare into it. Maybe some almond extract, pretzel pieces, and chocolate chips are in the future... :) Possibly all together, then again maybe separate. Ooooo maybe frosting! A peanut butter frosting!
Anyway, this is the recipe!
Preheat the oven to 325*
2 & 1/8 C. All purpose flour
1/2 Tsp Salt
1/2 Tsp Baking soda
1 & 1/2 Sticks of Unsalted Butter (I had to use Imperial fake "butter") make sure to let it soften!
1 C. Brown sugar, lightly packed
1/2 C. White sugar
1 Large egg
1 Large egg yolk (remember my hand trick! seriously so easy)
2 TSP Vanilla extract
12 oz bag of M&M's
In a medium bowl, whisk together the flour, salt, and baking soda.
Then, in a large bowl, cream the butter, brown sugar, and white sugar together until fluffy.
Add the egg/egg yolk, and vanilla. Mix well
Fold the dry ingredients into the wet until just combined. Don't over-mix! :)
Fold in 3/4 of the bag of M&M's
Pour the batter into a greased 9x13 pan. Boob drawings are optional.
Sprinkle remaining M&M's on top, and press lightly.
Bake for 25 minutes until the top is a nice golden brown.
One my first attempt, I stabbed the middle to check for "doneness" and that was a mistake. It collapsed :( and then my gorgeous gold went to a dark tan. Sad panda.
Cool completely before cutting, unless you are like me and know you will only get to try them if you do it while they are still warm (because your fella gets up 2 hours before you, and is taking them to work)
Thank you Amy for your ongoing support! For your awesome blog of deliciousness! And for coming up with this recipe in the first place! :)
1 comment:
I'm so glad the second attempt was more successful! And I love your idea of adding frosting next time. YUM!
Post a Comment